Disclaimer: This post may have affiliate links. As an Amazon Associate, I earn from qualifying purchases.
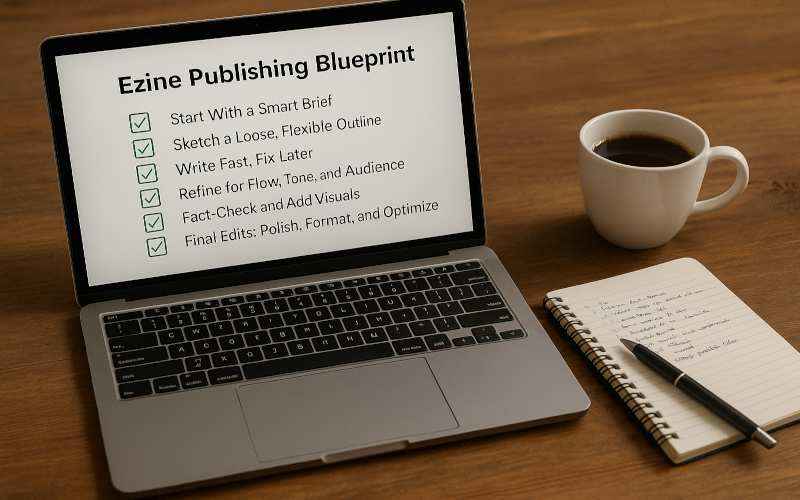
From Rough Draft to Polished Issue: A 6-Step Ezine Publishing Blueprint
Every ezine starts with an idea. Maybe it’s a collection of curated links. Maybe it’s a deep-dive opinion piece. Or maybe it’s a mix of both. But if you’ve ever tried to publish consistently, you know how messy the process can get.
You jot notes. You draft half an article. You wrestle with tone, structure, and editing. Suddenly, hours are gone and your ezine still isn’t ready.
The secret isn’t more time it’s a better system.
That’s why I’ve created this 6-step ezine publishing blueprint: a practical, repeatable process to take you from rough draft to polished issue without stress.
Step 1: Start With a Smart Brief
Before you write, know what you’re writing for.
A brief is your roadmap. It defines your goal, audience, and angle before you dive into words.
Questions your brief should answer:
-
Who is this issue for?
-
What’s the main takeaway?
-
What’s the tone (formal, casual, witty)?
-
What’s the SEO keyphrase?
👉 Example: “This ezine issue helps freelance writers find productivity hacks. Tone is conversational. Goal: deliver 3 actionable tips.”
📌 Pro tip: Keep your brief under one page. It’s a guide, not a dissertation.
Step 2: Sketch a Loose, Flexible Outline
Your outline is scaffolding it holds up the structure without locking you in.
Break it into:
-
Hook + introduction
-
3–5 main points
-
A conclusion + call to action
👉 Example: A productivity-themed ezine might have an outline like:
-
Intro: why freelancers struggle with time
-
Tip 1: Batch work
-
Tip 2: Use Pomodoro timers
-
Tip 3: Block distractions
-
Wrap-up: encouragement + CTA
The goal isn’t perfection it’s direction.
Step 3: Write Fast, Fix Later
This is where most creators stall. They edit every sentence as they write, killing momentum.
The fix? Separate writing from editing.
-
Write in sprints (try 25 minutes)
-
Use placeholders: “[insert stat here]”
-
Don’t worry about grammar yet
Think of it as dumping clay on the wheel. The shaping comes later.
Step 4: Refine for Flow, Tone, and Audience
Now comes the sculpting. Read through your draft and ask:
-
Does it flow logically?
-
Is the tone right for my audience?
-
Are sentences clear and conversational?
👉 Read aloud test: If it sounds clunky out loud, it’ll read clunky on screen.
Example rewrite:
❌ “The utilization of productivity strategies is beneficial.”
✅ “Using productivity strategies makes you more effective.”
Simple, direct, engaging.
Step 5: Fact-Check and Add Visuals
Trust matters. Check every claim, stat, or quote. Link to reliable sources like Pew Research or Harvard Business Review.
Then, add visuals:
-
Screenshots for tutorials
-
Charts for stats
-
Infographics for summaries
👉 Remember: visuals don’t just illustrate they boost retention.
Step 6: Final Edits: Polish, Format, and Optimize
This is where your ezine becomes publication-ready.
Checklist:
-
✅ Fix grammar, spelling, punctuation
-
✅ Format with H2s, bullets, and spacing
-
✅ Add alt text to images
-
✅ Check word count and readability
-
✅ Add internal links to related issues or resources
When this step is done, your ezine is ready to send confidently.
FAQs
Q1: How long should an ezine issue be?
It depends on your style. Some creators thrive with 500-word digests, others publish 2,000-word essays. Consistency matters more than length.
Q2: What’s the biggest mistake in publishing ezines?
Editing too early. It slows you down. Write first, refine later.
Q3: Should every ezine include visuals?
Not every time, but visuals boost clarity and engagement. Even a simple chart can help.
Repeatable Systems Beat Stress
Publishing an ezine doesn’t have to be chaotic. With this 6-step blueprint, you can go from scattered notes to polished issue in less time without burning out.
📌 Action step: Print this blueprint, keep it at your desk, and run your next ezine issue through it. You’ll feel the difference immediately.
Authors LaunchPad - Book marketing systems and launch funnels.
Authors Book Launch - Press releases, media kits, and book launch blogs.
8Write - Writing tips and creative development resources.
ArticleDrafts - Prewritten content and ghostwriting services for authors.
MTDLN Media Group - Explore our full creator network.